Monday, March 31, 2014

For the Freezer--Chicken Lasagna

I really do spend a couple of hours every other week or so doing some type of food prep. That used to be mostly a canning related activity, but now that I have a freezer, I include more things that are frozen.  One of the biggest reasons I do this is so that I can have meals ready to go, meals that need no prep other than defrosting and popping in the oven or the crock pot. I have a chronic pain condition and have flare-ups on occasion that leave me not able to stand too long and getting dinner on the table is an issue. Before, this meant that Kip would stop by a drive thru on the way home or we would order delivery. The problem with is that I have cut out most of the processed foods--including fast food out of my diet. Once in a while it wouldn't bother me, but sometimes flare ups last for several days.

Since I have food in the freezer and in canning jars, I can put a healthy dinner on the table with almost no effort! I bought a couple of freezer cookbooks to get a feel of what freezes well, and looked through many others. A lot of the freezer cookbooks are the cook once-a-month-eat-all-month-after-one-marathon-session type cookbooks. That doesn't work for me, I never have that much stamina! I did however find some good guidelines and recipes.


This week's project was a Chicken Lasagna. First I gathered all my ingredients. I don't always do that when I am just cooking a meal, but if I am canning or cooking for the freezer, I always do.


In this recipe, the mushrooms, artichokes, broth, seasonings, and half and half are cooked together until everything is tender.


This is layered like a traditional lasagna--lasagna noodles, shredded chicken, mushroom mixture, cheese, repeat.

I now have two more dinners in the freezer! 

I wrap them in heavy duty foil, and label them with the name of the dish and the cooking directions. 


The chicken lasagna recipe came from this book. A lot of the meals can be frozen, but there are a lot that are just make ahead and are great to use if you are having a dinner party or whatever and you want to get as much done as possible ahead of time.


Friday, March 28, 2014

Food Memories

I am sure if you are at all like me, you have strong memories associated with food and preparing food. I absolutely love cooking and sharing food with other people. 

Cooking soothes me; chopping and cooking from scratch have a calming effect for me, after a rough day, it is stress relieving.

Cooking, trying new recipes and experimenting in the kitchen helps fulfill my need to be creative.

Cooking comes easy to me. A man a know, Mr. Charles, always told me that every one of us has this little flame inside of us, and when we use those talents to benefit others, that little flame grows and grows and the bigger that flame gets, the happier and content we become. I can and have cooked for 1 person up to groups of 200. It is all fun for me. 

Cooking also connects me to so many people, some are still with me and some are not. But those memories tied to food and cooking are all happy memories.

I never make Chicken and Dumplings without thinking of my Granny.

Making pancakes and omelettes make me think of my Dad.

Canning make me think of parents, grandparents and great grandmother.

Mixing up a batch of jalapeno cornbread brings Allyson to mind.

Banana Pudding reminds me of my Mamaw.

When I make chicken pot pie I think of my friend Mr. Charles, he always raves about mine, and in the past when he introduces me to people, he tells them about my chicken pot pie.

Fudge and peanut butter cookies remind me of my Mom.

There are so many happy memories that come to mind when I cook. 

What cooking memories do you have?

Thursday, March 27, 2014

Tropical Fruit Salad


The other day I posted about my excitement over my dragon fruit that I got from Bountiful Baskets. It was tasty and kind of tasty. I decided to use it in a fruit salad. I combined the mango, dragon fruit, sliced strawberries and some pineapple together. I then mixed 2 parts pineapple juice, 1 part orange juice and i part lime juice together and poured it over the fruit and gently stirred. Very tasty!

Wednesday, March 26, 2014

One Box, Two Boxes, Three Boxes!


I decided I needed to add another couple of raised beds for this year's gardening. I want to add an herb garden and have room from some flowers to attract bees. 

These are very simple boxes, I bought two 8' cedar boards and had Lowe's cut them in half. When I got them home, I just screwed them together.


At first I was only going to add one, but I decided I really needed two, because I like symmetry. Another box means that I will be growing even more of our food and hopefully reducing the grocery bill even more.

Both of these boxes are 4' x 4', I took the photo at a weird angle so one looks smaller than the other, but they are the same. You can also see my new manual mower there, I wanted to make sure that the mower could get between them.


And here you can see how the boxes are placed in the yard. We have a patio right outside the door, then there is a small strip before you get to the big box. Kip built the big box for my birthday last year and then my Dad added the fence that I use as a trellis for my beans, peas and cucumbers.


In the back along the fence you can see my compost bin, To the left of this area I have raspberry bushes and blueberry bushes.

I have to say, I am really happy with the way my back yard is coming along. I have a places to grow food to eat, and flowers for beauty, I have bird feeders because I find them so relaxing, I have a grill to cook on and a table to sit at. I love to sit out there in the mornings with a cup of coffee. The only things missing are a chicken coop and a bee hive!

Tuesday, March 25, 2014

Bountiful Basket


Here is my Bountiful Basket Share this week and how I plan to use each item:

***Pineapple, bananas, pears and part of the strawberries will be eaten as a part of breakfast or lunch.
***Celery will be chopped and frozen until I need it to make stock again.
***Baby Bok Choy will be added to a stir fry.
***Lettuce will be on sandwiches and part of a salad.
***Some of the red peppers and tomatoes will be served on fajita night, the rest will end up in a salad or sandwiches.
***Potatoes will be baked for steak night and will also be added to a roast I will be making.
***Lemons will end up in drinks, but I will wash them good, zest them and dry the zest to use in cooking and baking. I love lemons!
***Mushrooms will be in a Chicken Lasagna dish I will be making on my food prep day to go in the freezer.

I try to make a plan for the veggies and fruits I receive as soon as I get home with them. That helps make sure that everything gets used and nothing goes bad.

I usually don't buy the add-ons unless it is something that I can either can or dehydrate because it does end up being a little too much food for us. This past week they offered a Tropical Pack and I knew that the people on the "A Week" schedule had dragon fruit in their tropical packs. They aren't always exactly the same, but I decided to order it hoping that my "B Week" box would have it too. No disappointment, because it was in there!

Here is how I will use these items:

***Pineapple, dragonruit and mango will be eaten as is.
***The plantain will be lightly fried into a chip and served with hummus.
***Vanilla beans will be used in baking probably. Might make some ice cream with them too.
***The mint and some of the coconut will be used to make extracts. The rest of the coconut will be eaten as a snack. I might experiment with drying a little bit of it.
****The ginger will probably end up in the same stir fry as the bok choy.
***We have two flavors of dessert wraps, I am working on those!
***Tropical Granola is already almost gone! I knew it was in the pack, but I don't usually buy granola, I make my own. I opened the bag to sample it and oh my goodness, that stuff is amazing. I have been eating it out of the bag, but some will end up on ice cream and oatmeal--if there is any left.


Monday, March 24, 2014

Sauerkraut


Last year was my first time ever making sauerkraut and I am hooked. It was so good and really easy to make. We love it on hot dogs or cooked and served with sausage. I took advantage of the sales last week for St. Patrick's Day. I wish I had a fermenting crock, one day I hope to have one, but for now I use a gallon glass jar.


I couldn't remember for sure how many heads of cabbage I would need to fill my jar, I knew it would be  either four or five, so I bought five heads of cabbage, washed it and pulled off the outer green leaves, saving them for later.


I cut the cabbage into pieces that would fit in the hopper of my new shredder attachment for my Kitchen Aid mixer (thanks Mom and Dad!***).


After it was all chopped I packed it into my gallon jar, adding a little kosher salt as I layered.


After the cabbage reached the bottom rim of my jar, I took a couple of the those outer green leaves I saved and covered the surface of the cabbage and then added the ramekin to act as a little weight. Te jar will be moved to a cool, dark place, with a towel under it to ferment. I will check it every couple of days to make watch for the bubbles that show that it is "working" and to remove and of the "bloom" that appears on the surface. Do make sure you put that towel under it because when it gets to the point it is bubbling a lot, it might overflow. 

How do you know it is finished? In the words of my friend that taught me how to make sauerkraut "It is done when it tastes like sauerkraut"!


***I love kitchen tools. Love them, all of them. I am totally the woman who's husband can give her a food processor for Christmas and it's the perfect gift. The first gift Kip ever gave me was a kitchen tool. My Mom and Dad always give me a gift card for Christmas so that I can pick out what I need or want. I used my last gift card to purchase the Slicer/Shredder attachment. I have used it a couple of times now and so far I really like it! This next Christmas I am hoping my Dad picks out some Beekeeping Supplies for me (hint, hint, hint, since  he reads my blog!).

Friday, March 21, 2014

Homemade Cleaner


This post is for a general cleaner I use around the house, but it also works with the no waste tips from yesterday. I love the smell of citrus and used to always buy those scents when I was buying cleaners for around the house. When I eat an orange, I save the peels, put them in a glass jar and cover with vinegar. I let it sit in a cool, dark place for a couple of weeks and then strain the vinegar into a clean jar. To use the cleaner, I dilute the orange infused vinegar solution half and half with water and pour into a clean spray bottle. Works great around the kitchen and smells okay too. I am used to using vinegar to clean so the vinegar smell doesn't bother me that much and it dissipates pretty quickly.

One word of warning though. If you leave the jar of the undiluted solution on your kitchen counter, someone might ask about the very large urine sample on the counter!

Thursday, March 20, 2014

Eliminating Food Waste and A Tip for Berries


One of the changes I have been trying to make in my household has been to try and eliminate food waste. I hated going through the fridge and tossing things that I had forgotten about. I found this article interesting about food waste here in the United States. It is kind of mind boggling how much food ends up in the trash. Tossing uneaten food is really just tossing your money away and I am so 
cheap--I mean frugal--that it kills me to toss that food.


I have a few strategies that I use that I want to share:

***Meal Planning-I can't stress meal planning enough! I helps me save time, money and I have a plan for everything that goes in my cart. I participate in the Bountiful Basket food co-op and when I show up to get my produce, I have no idea what is going to be in that basket. It is a surprise every week, all I know is that half will be veggies and the other half will be fruits. The fruits are easy, I normally eat them as snacks or part of breakfast or lunch. When I get home from my pickup, I go ahead and plan my meals for the week and I plan them around the food in my basket. My grocery list comes next and I pretty much stick to that list when I am at the store. If I find a good deal on something for the pantry I will get it, but rarely purchase any impulse items that will go bad quickly.

***Plan for Leftovers- I use almost all of our leftovers for lunches. At least two, and sometimes more, of the meals that I make each week will leave enough leftovers that I can cover lunches. When I am putting the leftovers away, I go ahead and put them in lunch containers, ready to grab and pop into a lunch box. I really like these Easy Lunch Boxes or the Laptop Bento boxes and use these most days for lunch. 

***Prep Foods--I prep most of my foods when I get home with my food. I go ahead and wash everything and cut up veggies for salads and snacks. I find that if I go ahead and do those things and make them easy to grab, then they get eaten and not wasted. This also makes it easier to grab a quick, healthy snack.


My system isn't perfect and occasionally I will end up tossing something that goes bad. All scraps that can, get tossed into the compost pile, it isn't ending up in the trash can.

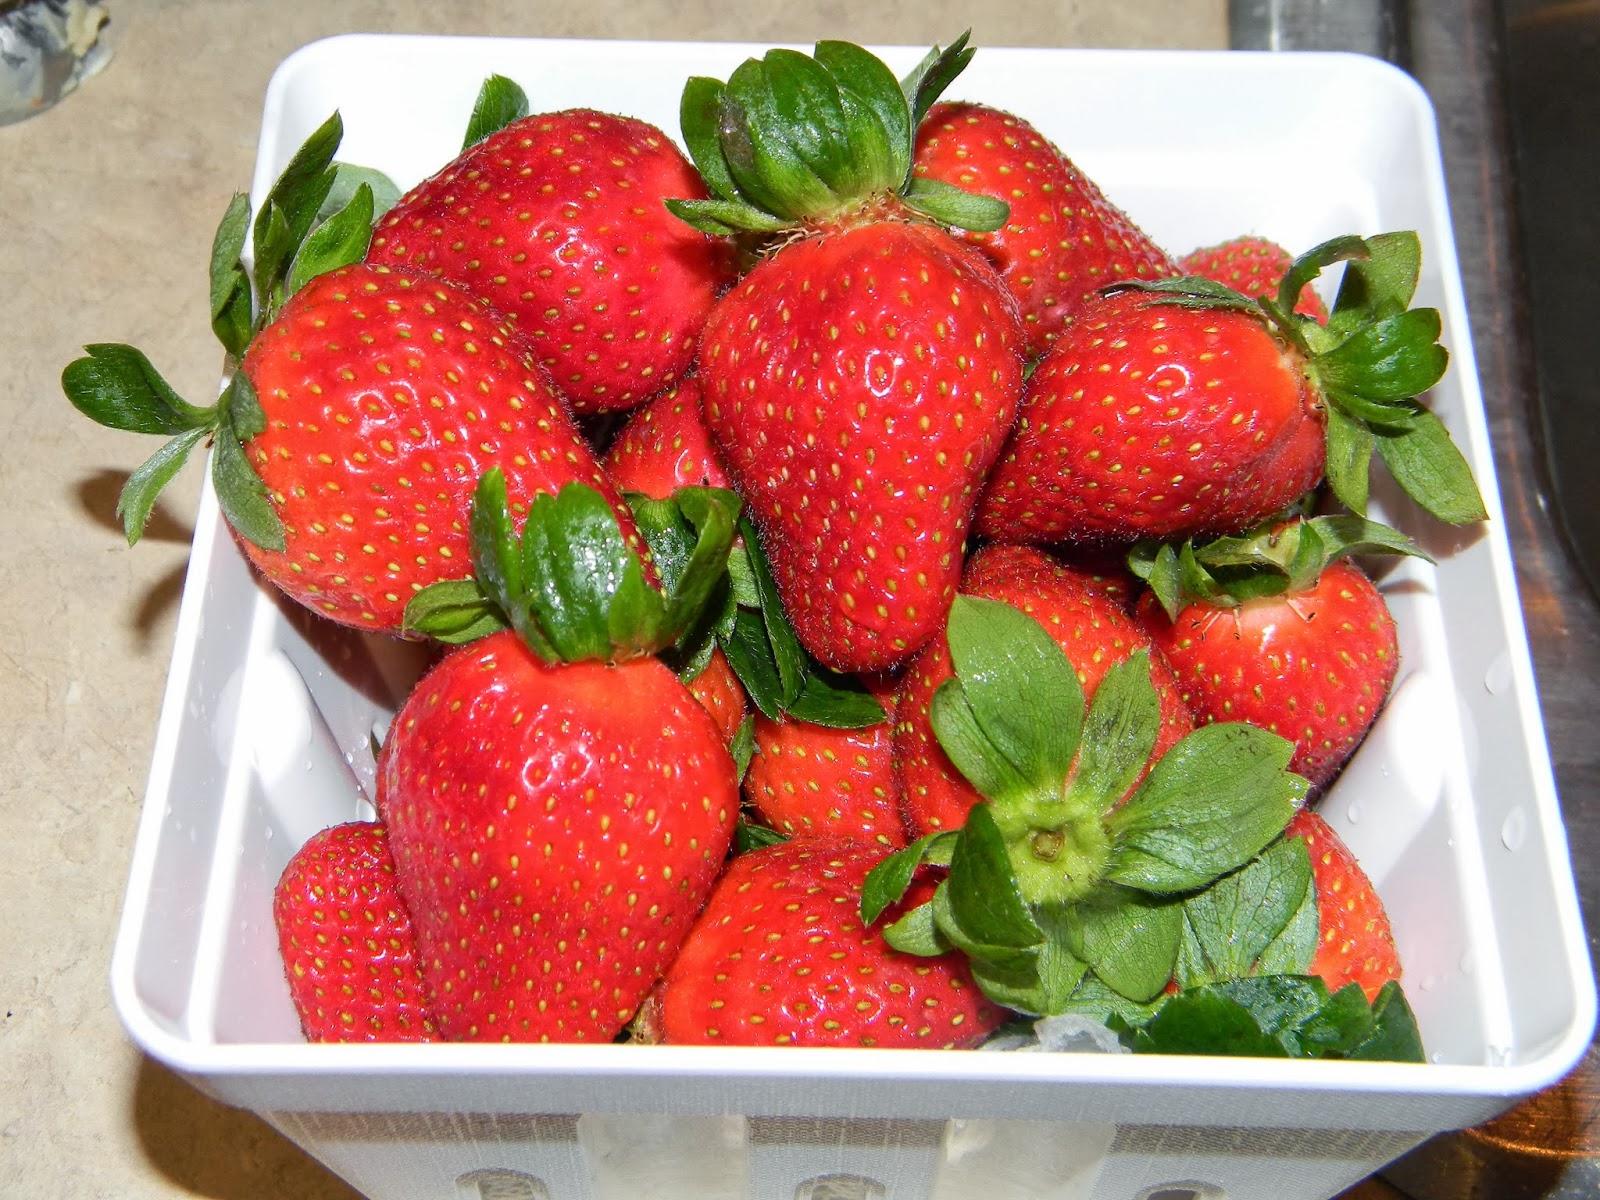
Here is a tip for keeping berries fresher for a couple of days longer. I run a sink of cold water (or pour water in a large bowl) and add a good sized splash of vinegar. I stir a bit then add my fruit to wash it.


After a couple of minutes, I will put them into a colander to drain. I don't rinse them and you can't taste the vinegar.


After they are dry, I fold a paper towel and put it in the bottom of a berry basket and then add the fruit to the bowl. These are plastic bowls that look like the baskets you often find at a Farmer's Market or fruit stand. I have seen these in lots of stores in the summer, including the dollar aisle of Target.


Tuesday, March 18, 2014

Bountiful Baskets and Chicken Stock


This is what was in my Bountiful Basket last week. In addition to the regular basket pictures, I had one add-on order of bread. Everything was really good, but those oranges were just amazing! Here is what I did with my produce this week:

Fruit-I try and eat fruit with breakfast and lunch every day so that was eaten as is. We had oranges, orcoblanco (a type of grapefruit) pears, apples, and Asian pears.
Kale-went into a pot of soup
Jicama- was diced and served in a salad
Cauliflower- I just cut that up and eat it raw. Kip isn't a huge fan of it, so I rarely cook it and eating it raw is my favorite way to eat it.
Asparagus-I just steam asparagus most of the time. I also like it cooked on the grill or pickled.
Spaghetti squash- I will be cooking this ans serving with a tomato based sauce. To be honest, a lot of these winter squashes are kind of new to me so I end up looking for a recipe online.
Chili Peppers- One of these went into some soup and the rest I will let ripen until they are red, then I will dehydrate them and make them into a powder to be added to other recipes.
Celery- not something that I eat, but I do use it!

 I am sure if you know me personally you are probably laughing at those two bunches of celery sitting on my counter. I really, really don't like celery, I joke that it offends all my senses; I don't the way it smells, tastes, the texture or the way it sounds when you eat it! I do have one very important use for celery and that is when I am making stock. Those two bunches of celery, combined with carrots and onions and some chicken to make this beautiful, rich chicken stock.


There really is no comparison to homemade stock and what you find in the store. I have blood pressure issues and I can control how much sodium I add to my own stock. These jars of stock will find their way into many dishes that I routinely make here at home.

Have a great day!

Friday, March 14, 2014

Canning Jar Cookies


I love to bake, and I love to play around with decorating cookies. They always taste great, but I am not that great at the decorating part! But practice makes perfect, right? That was my thinking anyway, so I decided to make a batch of sugar cookies and some icing and practice a little. No pressure either, these were just going to be staying homes so it didn't matter if they looked perfect or not.

I started with all of the standard baking ingredients.


Mixed them all together


Dough was divided, then wrapped in plastic wrap to chill for at least an hour. I have tried to rush this part in the past and that never works for me, so make sure it stays in the fridge for at least an hour or you might just have a mess on your hands. 

Another tip that helps me is to divide each of those halves into thirds and keep the dough that I am not using in the fridge, that way it doesn't start to get too warm. That makes sure that all the dough stays cold and it is much easier to work with.


Here is one of my favorite tips for making sugar cookies. Recipes will say to roll out the dough on a floured surface. For these cookies, I will sprinkle SUGAR on my mat. I think it is easier to lift the cookies and they keep all that sweetness that a sugar cookie should have.


I have been participating in some swaps with one of the canning pages I follow on Facebook. The latest swap I joined was for cookie cutters. Since it is a canning page swap, I got the idea in my head that I wanted to make cookies that looked like a canning jar. When I went shopping for the cookie cutters to send, I couldn't find anything that looked like a canning jar. The store I was shopping in has an amazing selection, but no canning jar shapes. I decided to try using a baby bottle to see if I could get the shape I was trying to make.


After cutting out each bottle, I took a butter knife and lopped off the nipple of each bottle.


My final product: 


After I loaded the picture, I noticed that the icing was noticeably wet! I need to keep working on my decorating because they aren't as neat as I would like them to be, but I was able to make a mason jar!

Monday, March 10, 2014

Reuben Sandwich and Thousand Island Dressing

One of my favorite sandwiches is a well crafted Reuben. I love everything about them. All of those different tastes just meld together to form a perfect sandwich. We eat out less now, so that means I need to make them at home. 

One of the first processed foods I gave up to start making my own was salad dressings. I loved how quick it was to make them and how easily I could whip up different versions without having to buy one of every bottle in the store--and since I can make as much or as little as I need, I am not wasting it and throwing away half empty bottles. 

Of course a good Reuben needs a good sauce. Here are the ingredients that I started with:


With a lot of the dressings I make, I store them in a plain squeeze bottle, and that works great for smoother ones, but since this one has small chunks of the onion and the relish, these half pint mason jars are what I use.


I am happy to say that not only is the dressing homemade, but I also made that sauerkraut.

Ahhh, perfection on a plate!


Thousand Island Dressing

1/2 cup mayonnaise
2 tablespoons ketchup
2 tablespoon white vinegar
2 teaspoons sugar
1 tablespoons sweet pickle relish
1 teaspoon white onion, finely minced
1/8 teaspoon salt
1/8 teaspoon black pepper

Mix all ingredients together until well blended.

Friday, March 7, 2014

More Time Savers

Learning and transitioning to a real food way of life can lead to some initial frustrations. Even though I knew how to cook most things from scratch, it was something that I did when I had time, and when I didn't I relied on fast food or overly processed foods on the days that I didn't have the time or energy. I listed some of my time saving tips in this post and will add some more here.


***Create your own fast food. Come up with a list of quick meals that you can easily pull together at home and keep the ingredients for those meals on hand. Here are a couple of my meal suggestions, but these will be different for every family. Knowing what your family likes and keeping some basic ingredients on hand and you can have a real food dinner on the table before the pizza guy can deliver.

The goal here is to anticipate those crazy nights when you don't have a ton of prep time and already have a plan in place. If you have a plan and keep the ingredients on hand, it is much easier to resist the drive-thru.

Chicken Noodle Soup: I always chicken in my freezer that has been cooked and shredded and frozen in 2 cup portions and I try to never run out of chicken broth. I usually have homemade egg noodles in the freezer too, and combined with the broth and chicken and even some veggies, homemade chicken noodle soup can be a pretty quick hearty meal.
Breakfast for Dinner: This is something that I like to do and can make very quickly. I always have eggs and some type of veggie in the fridge. A scrambled egg dish cooks in just a few minutes in the skillet, or add even more veggies and make a fritter in the oven. My freezer comes in handy here too, when I make waffles or pancakes, I always make extra and freeze them and they are ready to be eaten after a very quick defrost in the toaster.
Quick Spicy Chicken Chili: once again starting with cooked chicken in the freezer, add a cup of chicken broth, the chicken, 2 cups of salsa and 2 cans of white beans to a pan and simmer for just a few minutes.
Fried Rice: Basically I do this when I have a lot of left overs in the fridge, enough to save, but not enough to serve as a meal. I cook some rice or take out a pouch of already cooked that I have frozen, then add a bunch of veggies and cook til tender. Top with a little Tamari, and it is much better than carry out rice.


***Cooking for the freezer/pantry: I am not talking about the plans where you spend one day shopping and then another entire day of cooking and you have a month's worth of meals ready to go in the oven. I have never had that much freezer room to make those plans work. I am talking about cooking a little extra when you are cooking. For instance, if you are cooking chicken for a meal, then cook some extra, let it cook, chop or shred it, cool the freeze it.
I am an avid canner so I have several soups and meal options that are on my pantry shelves. I spend a couple of hours once a month or so making a canning project, which sounds like a lot of time, but I can have 14 meals ready for my shelf in those couple of hours. You can do the same with freezer meals if you are not a canner.


Prepping: I prep a lot of my food when I get home from the store. I will wash all the berries and veggies, go ahead and chop an onion or two, cut up carrot sticks, wash the fruit, etc. It is just one quick step more than just putting it away and on crazy nights, having those things done helps you get dinner on the table a little faster. 


Packing lunches: Dinner left overs make up much of our lunch menu. After dinner, I pull out the lunch containers and go ahead and make lunches right then. I would be putting away the leftovers any way, and by going ahead and getting lunches ready, I save time in the mornings and have less dishes to wash.


Use a crock pot: If you have one night a week that you are always pressed for time, designate that day as a crock pot day. When you get home from the store, prep everything for that crock pot meal and then place it in the freezer. The night before cooking, set it in the fridge to defrost, then in the morning, place it in the crock pot and let it cook while you are at work. I always loved coming home from work after a long day, open the front door and know that dinner is already done. 


Enlist help: Designate part of dinner to different family members or have one sous chef responsible for helping you on designated nights. Even little kids can help chop veggies, tear lettuce for a salad or help in some way. I have used knives similar to these with kids as young as two.


It does get easier the longer you do it and you will find your own tips that work for you!


Wednesday, March 5, 2014

Kale and Butternut Squash Tortilinni


I spent most of the last week watching my friend's two daughters while she was out of town. I was their nanny when they were younger and one of the things that I always enjoyed doing with them is cooking. Samantha (pictured above) is quite the little foodie and loves to cook and eat almost everything while her older sister is mostly interested in baking. 

Their mom follows a vegan diet and while both girls do eat meat, their diets, by choice, tend to be mostly vegetarian. I have been trying to make more meat free dishes at my house too, dishes that feel like a meal instead of just side dishes. I saw the Pioneer Woman make this dish on her show recently and knew it would be something that we would like. I also knew this would be something that I could make with Samantha and it was simple enough that she could pretty much make it on her own. At 11, she takes great pride in the fact that she can cook complete meals on her own.

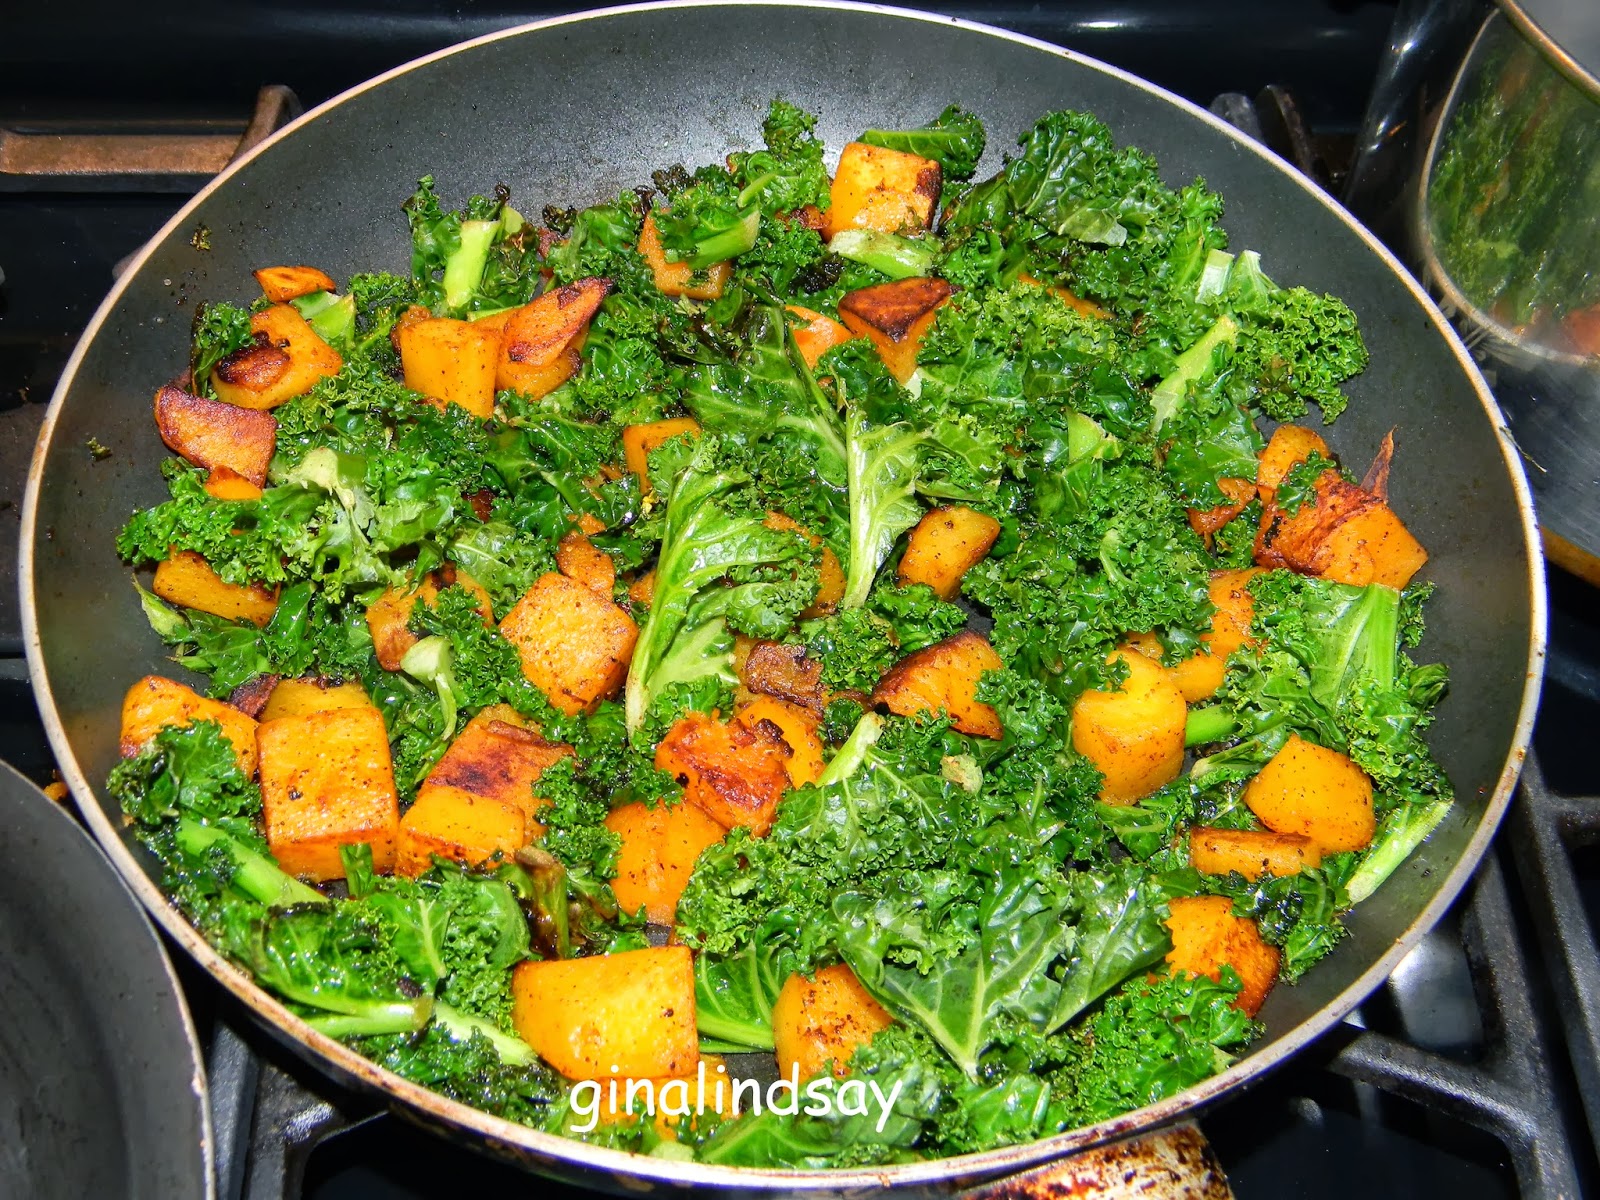
The first thing we did was saute the cubed squash in a little butter, salt, pepper and chili and garlic powder. After the squash was browned, we pulled it off the heat and then began to cook the kale.


I decided to add some cheese tortellini to our dish. I cooked it in boiling water, drained it, the added it to a pan with a small amount of butter to brown it. We just watched it and kept it moving in the pan so it would just start to brown and not overcook.


After everything was done, we put the squash and kale together, added a little of the tortellini to each bowl and then topped with some shaved Parmesan cheese. Delicious and filling and enough leftovers for the next day's lunch.


Here is the link to the original recipe for the squash and kale recipe.

And here is how I made my dish:

Kale and Butternut Squash Tortellini

2 cups of cubed butternut squash
4 cups of kale, chopped into decent sized pieces, stems removed
3 tablespoons butter, divided
1-2 teaspoons of chili powder
1 teaspoon garlic powder
salt and pepper to taste

1 package of refrigerated cheese tortellini, cooked according to package directions and drained  

shaved Parmesan cheese


-Melt a tablespoon of butter in a large skillet, then add the cubed squash. Season the squash with the salt and pepper and chili and garlic powders. Continue cooking until squash is tender and browned. Remove from heat.

-Add another tablespoon of butter to the pan and when melted, add the kale pieces. Saute these until they start to wilt, but do not overcook. You want it to still have a little of the crunch. Add squash back to the pan with the kale.

-In a smaller skillet, melt remaining tablespoon of butter then add the cooked tortellini, cook for just a couple of minutes until they are a light golden brown.

-Assemble in bowls; kale and squash mixture, then the tortellini, finally topping with some Parmesan shavings.

Monday, March 3, 2014

Snow Day Breakfast

 I woke up here in Nashville to ice and cold weather. And there is something about seeing all that white stuff that makes me want a nice hearty breakfast. Normally breakfast for me is pretty simple and easy to cook, but this morning I decided to be a little more adventurous and do something a little more labor intensive. 


I started with some potatoes and onions, diced in small pieces so they would cook a little faster. 


Then I chopped up some of the leftover sausage from last night's dinner. Since the sausage was already cooked, I waited to add it until the potatoes were already starting to brown. 


While I was waiting for the sausage to warm up and the potatoes, I cooked a couple of over easy eggs, making sure the yolks stayed nice and runny. To assemble my breakfast, I scooped some of the potato/sausage mixture into a bowl and topped with my eggs.


Breakfast is served!